3D Printing at CompLightLab
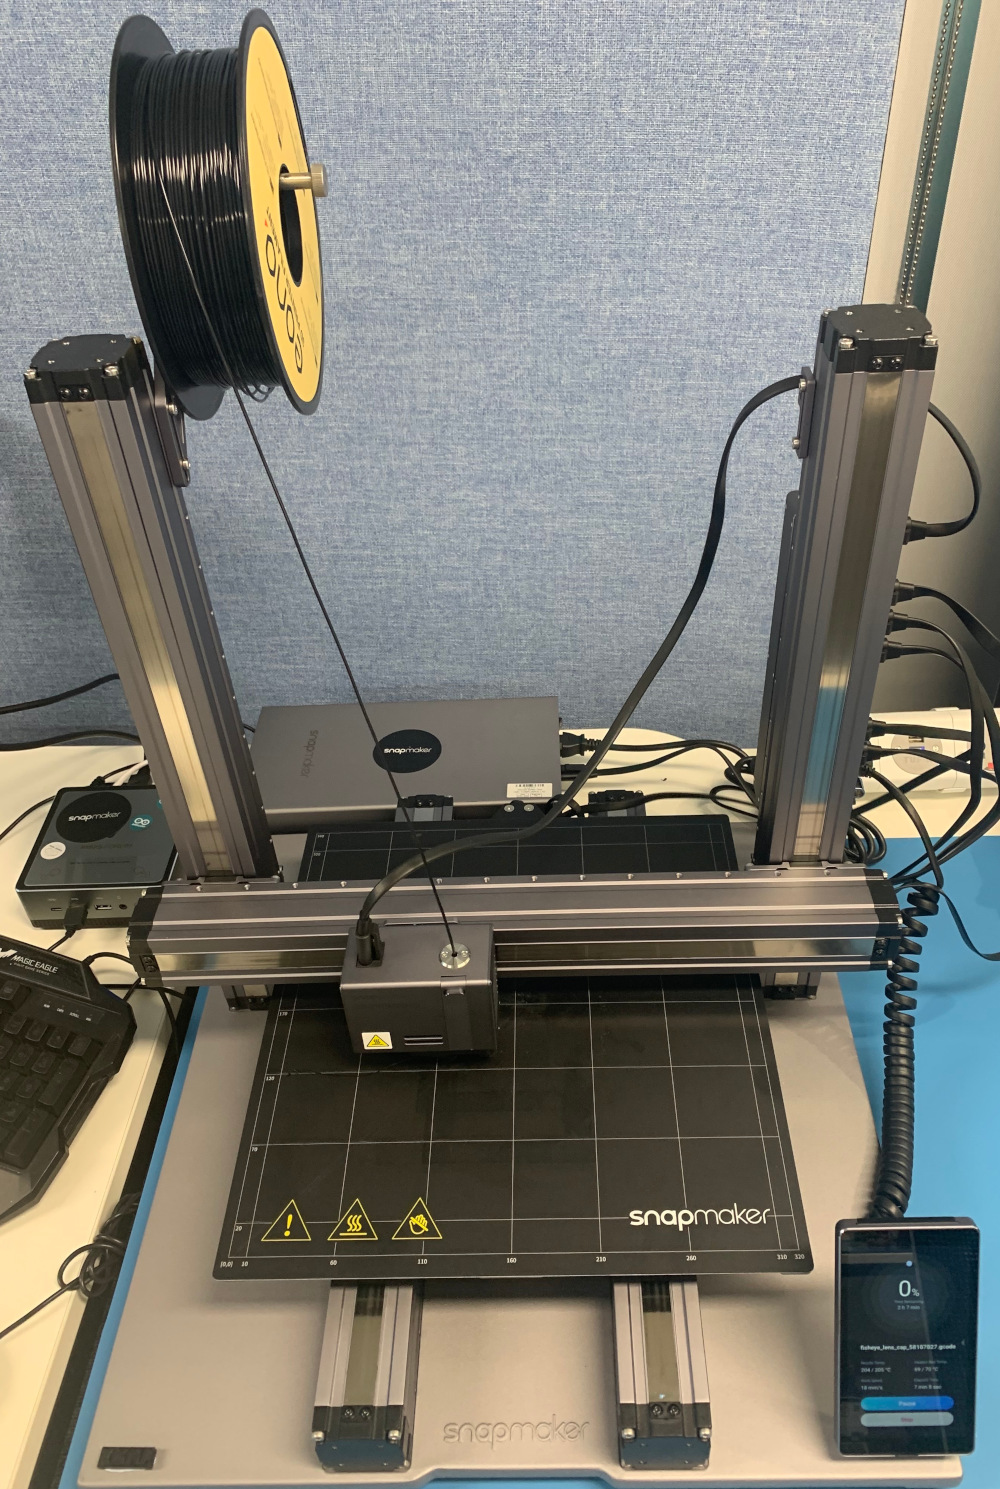
The Computational Light Laboratory has a Snapmaker 2.0 3D Printer. This page will provide some brief instructions on using the printer, and some notes on using specific types of filament.
Software
Snapmaker provide their own slicing software, Snapmaker Luban to slice 3D models and produce the .gcode files compatible with the printer. Generally using this involves:
- Switching to 3D printing mode (click the cube icon on the left of the window).
- Adding your model using the blue
Addbutton at the top left. Further models can be added by pressingAddagain. - Rotate, scale and arrange your model(s) for optimal printing.
- Selecting your filament material (check on the roll at the top of the printer) at the top right.
- Change settings as necessary (supports, adhesion etc.). Click
CustomizeunderPrinting Settings, and then the black+symbol in order to change the settings (see notes below). - Click
Generate G-Codeto slice the model. - Check the preview of your sliced model looks OK.
- Click
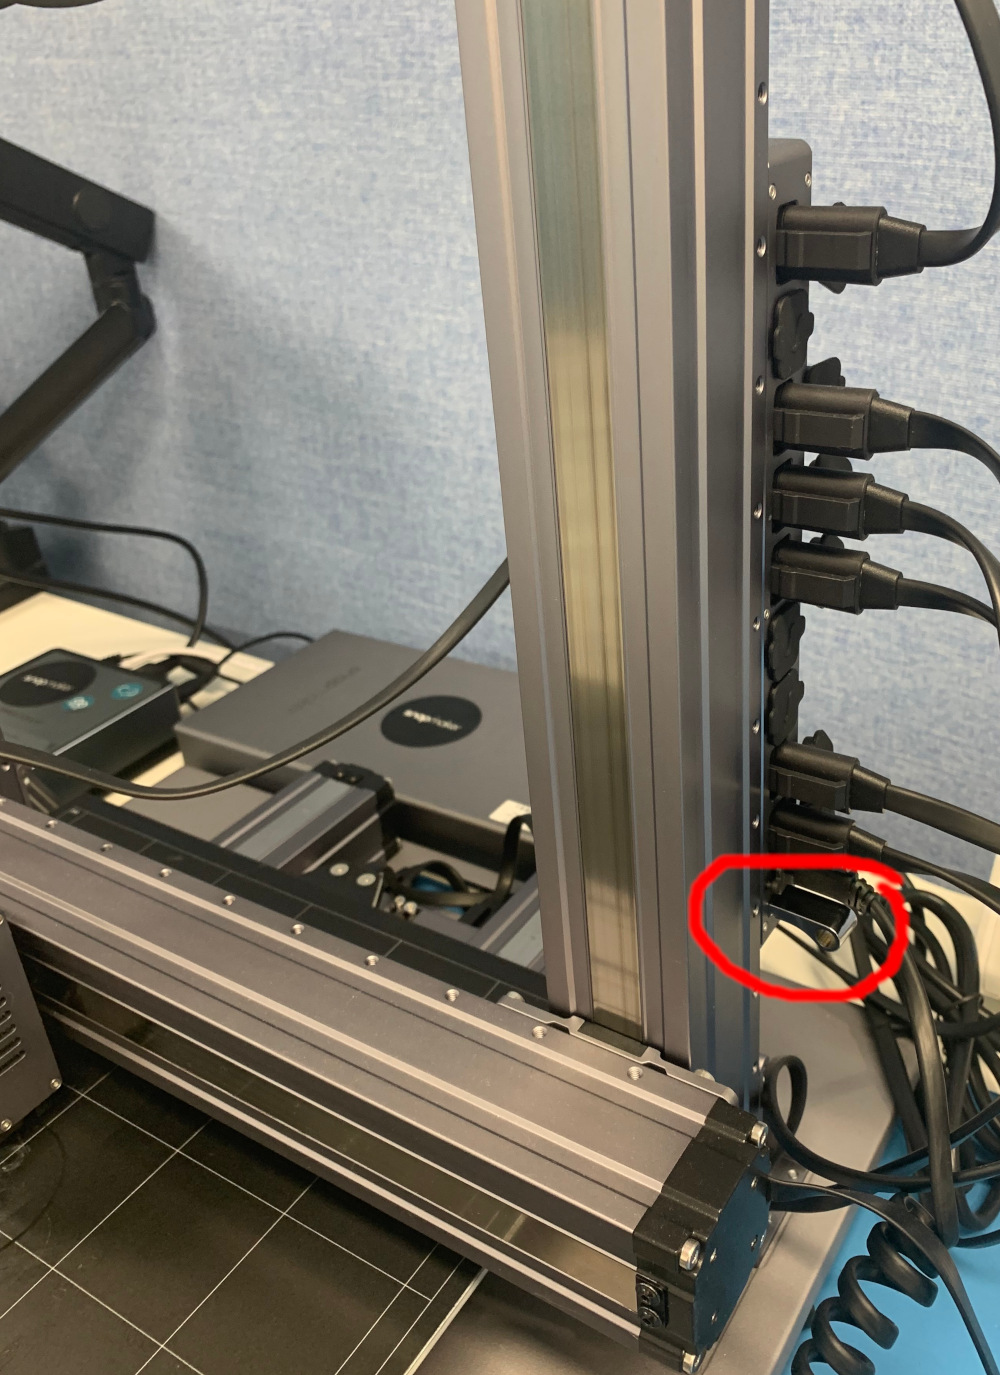
Export G-Code to Fileand export it onto a USB stick with appropriate filename. - Insert the USB stick to the port on the right side of the printer.
- Select your model in the printer interface, and begin the print.
Note that supports are disabled by default, but depending on your model, switching them on may be necessary. Also by default a skirt will be printed, but we recommend disabling this setting as they can be challenging to remove from the build plate (under Adhesion, set the type to None).

Filaments
Profiles are provided for PLA and ABS filaments. We also have PETG filament in the lab - this can be useful as it has greater strength and temperature resistance than PLA. However it requires different temperature settings for printing.
I recommend adding a PETG profile by clicking the black + symbol under Material, and setting the temperatures as appropriate. The following settings performed well with the Snapmaker official PETG filament:
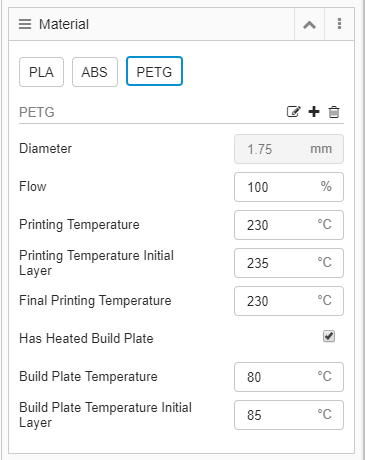
As a quick safety note, these settings heat up the build plate substantially more than when printing PLA. Please take extra care when removing prints, and allow the build plate to cool to a safe temperature before removing it. The temperature is displayed on the printer's screen as it cools.